
In this article, you’ll learn how you can set up and run a local Linux shell interface in Windows without using a virtual machine. This not like using terminals such as Git Bash or cmder that have a subset of UNIX tools added to $PATH. This is actually like running a full Linux kernel on Windows that can execute native Linux applications. That's pretty awesome, isn't it?
If you’re an experienced developer, you already know that Linux is the best platform on which to build and run server-based solutions using open-source technologies. While it’s possible to run the same on Windows, the experience is not as great. The majority of cloud hosting companies offer Linux to clients to run their server solutions in a stable environment. To ensure software works flawlessly on the server machine just like on the local development machine, you need to run identical platforms. Otherwise, you may run into configuration issues.
When working with open-source technologies to build a project, you may encounter a dependency that runs great on Linux but isn’t fully supported on Windows. As a result, Windows will be required to perform one of the following tasks in order to contribute to the project:
- Dual Boot Windows and Linux (switch to Linux to contribute code)
- Run a Linux virtual machine using a platform such as Vagrant, VirtualBox, VMWare etc.
- Run the project application inside a Docker container
All the above solutions require several minutes from launch to have a full Linux interface running. With the new Windows Subsystem for Linux version 2 (WSL2), it takes a second or less to access the full Linux shell. This means you can now work on Linux-based projects inside Windows with speed. Let's look into how we can set up one in a local machine.
Installing Ubuntu in Windows
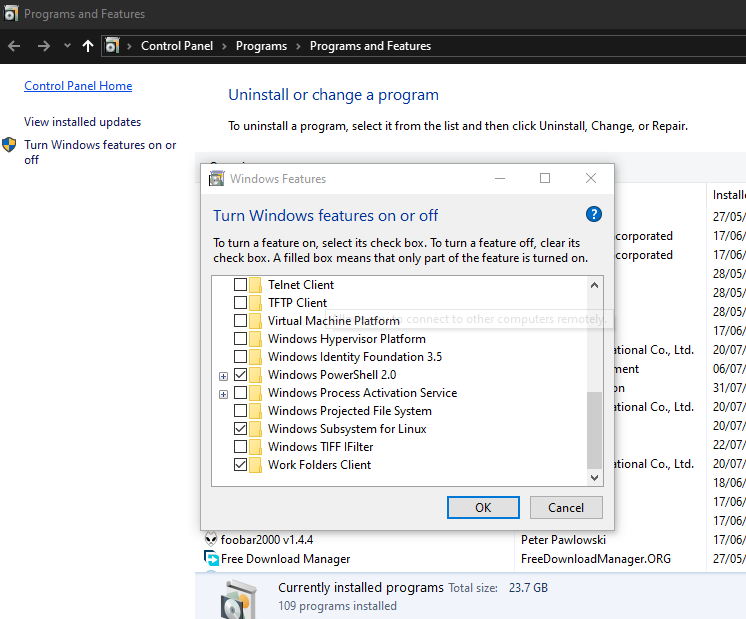
First, you'll need to be running the latest version of Windows. In my case, it's build 1903. Once you've confirmed this, you'll need to activate the Windows Subsystem for Linux feature. Simply go to Control-Panel -> Programs -> Turn Windows feature on or off. Look for "Windows Subsystem for Linux" and mark the checkbox. Give Windows a minute or two to activate the feature. Once it's done, click the restart machine button that appears next.
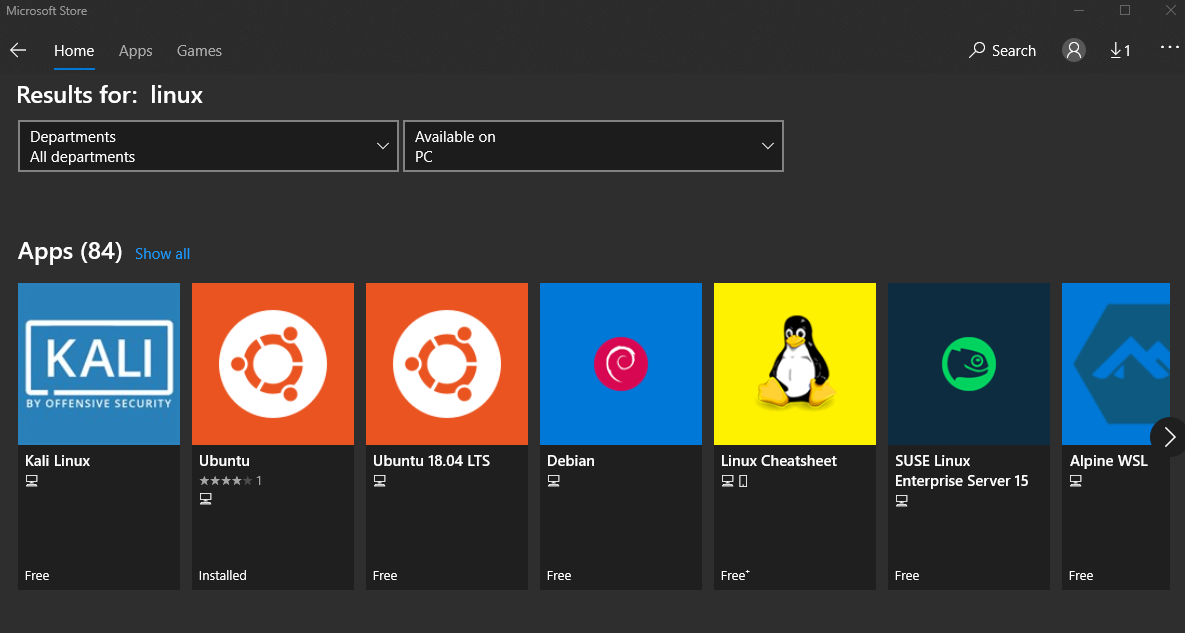
Next, go to the Windows Store and install Ubuntu. The first Ubuntu option will install the latest versions. Other Ubuntu options allow you to install an older supported version.
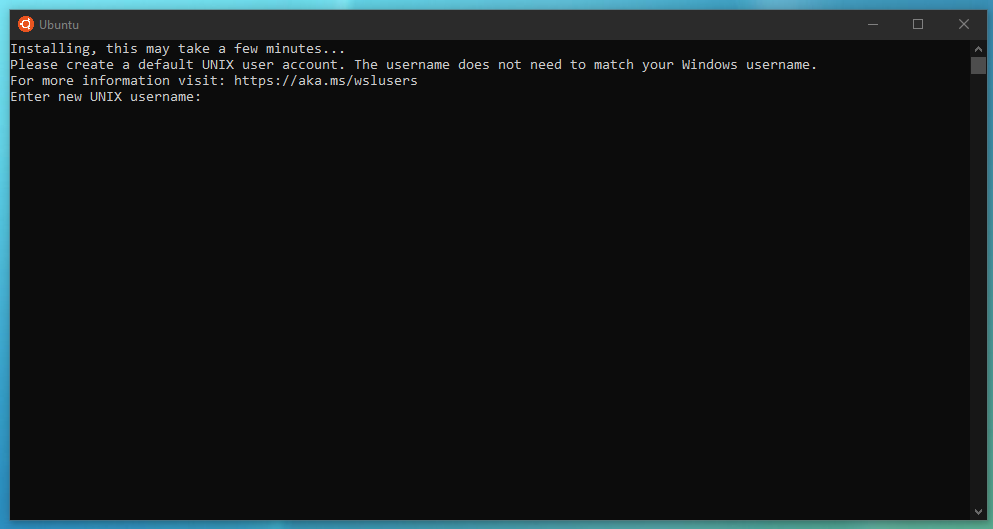
Once the installation is complete, you'll need to launch it from the menu. Since this is the first time, you’ll need to wait for the Ubuntu image to be downloaded and installed on your machine. This is a one-time step. The next time you launch, you’ll access the Linux Shell right away.
Once the image installation is complete, you’ll be prompted to create a new root user account inside this shell:
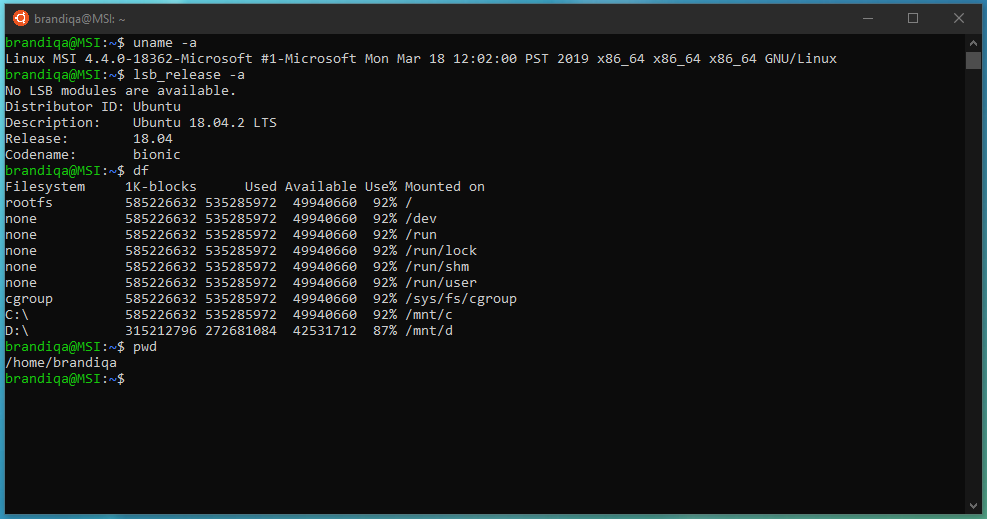
After you’ve created your credentials, feel free to type any Linux command to confirm you’re truly accessing a native Linux shell:
You’ll be pleased to note that git, python3, ssh, vim, nano, curl, wget and many other popular tools are available out of the box. In a later section, we'll use sudo apt-get command to install more frameworks. First, let's look at several ways we can access this new Linux shell terminal interface. It's probably a good idea to upgrade currently installed packages:
$ sudo apt-get update && sudo ap-get upgrade
Accessing Linux Shell Interface
The are several interesting ways of accessing the Linux shell interface.
-
Go to Windows Menu Start > type "Ubuntu". You can pin it to Start for quicker access
-
Open Command Prompt or Windows PowerShell and execute the command
bash -
In Windows explorer, SHIFT + right-mouse click a folder to open a special context menu. Click Open Linux shell here.
-
In Windows explorer, navigate to any folder you desire, then in the address bar type
wsl, then press enter. -
In Visual Studio Code, change the default terminal to
wsl.
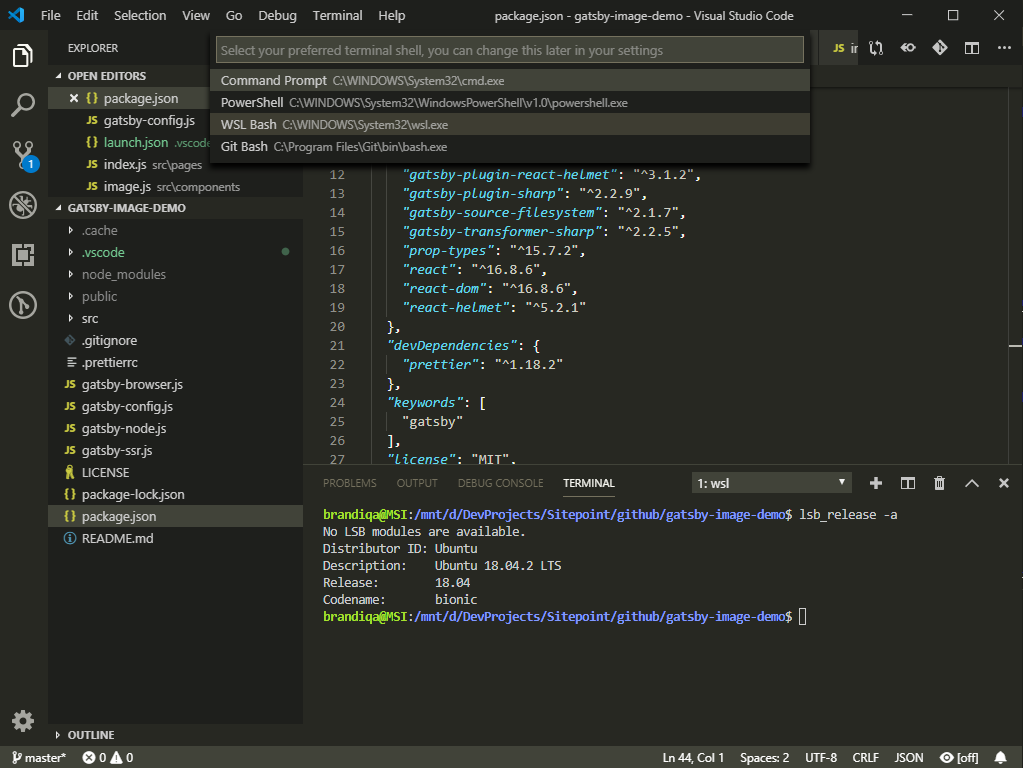
If you come across new ways, please let me know. Let's set up Node.js in the following section.
The post How to Use Windows Subsystem for Linux 2 and Windows Terminal appeared first on SitePoint.
No comments:
Post a Comment