Alright fellows, so in this tutorial we’re going to create our very first django project. Here I am assuming that you all have installed Django 2 in your system. Django has a great way for us whenever you want to start a new project. It simply creates a new template for us then we can customize it however like to.
How to Create Django Project
Open terminal or command prompt and navigate to the directory where you want to save your project. Let’s say if you want to save your project on Desktop then open terminal/command prompt and type:
cd Desktop
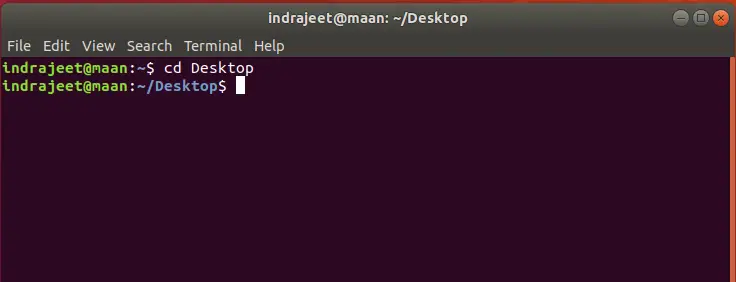
Now you are in your desktop directory, to create a new project type following command and hit enter:
django-admin startproject project_name
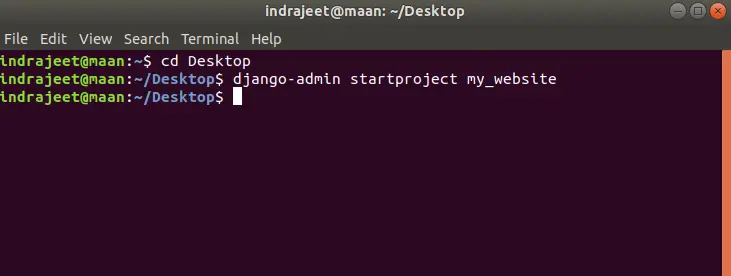
In above picture django-admin is a command that can do lot of other stuff for us, to see all the possible commands for django-admin just type below command and hit enter.
django-admin help
It will show you all options that we can use along with django-admin command. Start project is showing us that we’re going to create a new project and my_website is the name of our project, you can name it as you want.
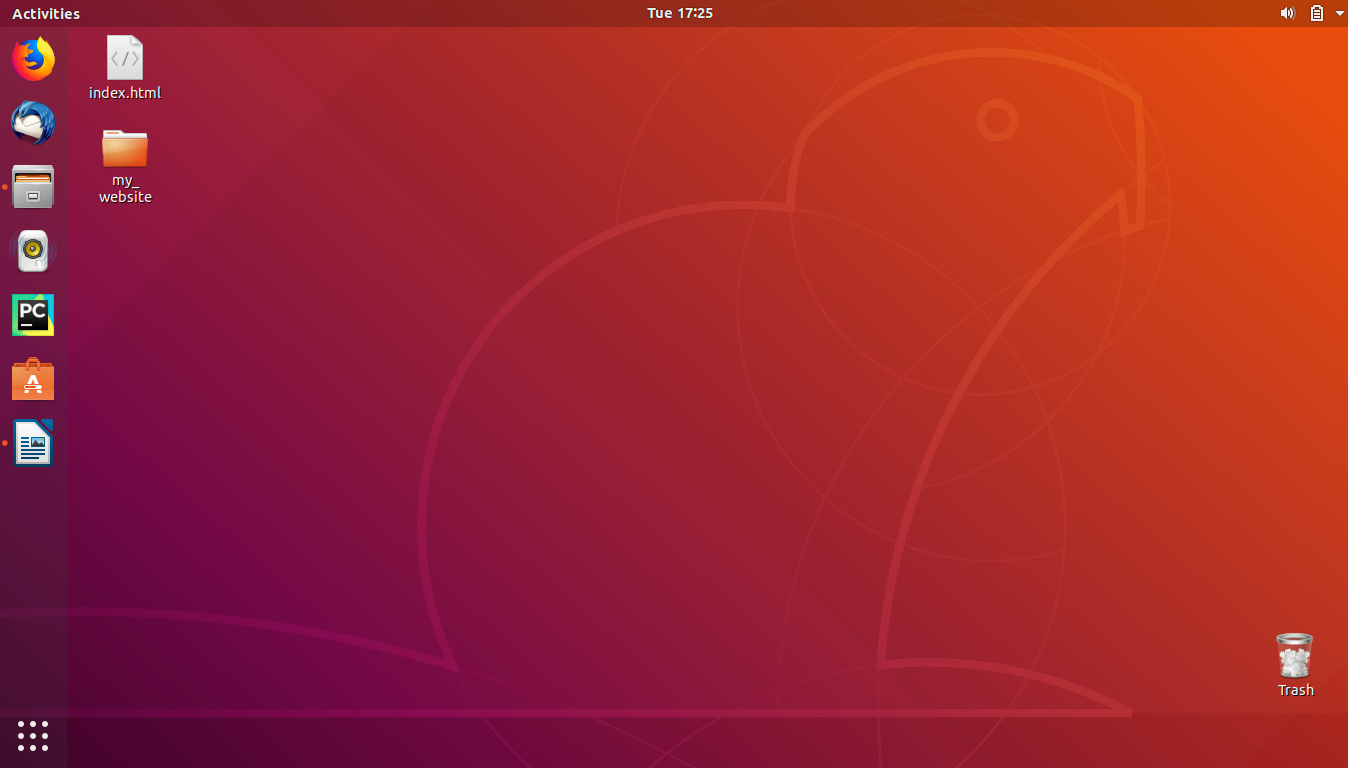
After this command, you can see that there is a directory created on your desktop with the name of your project.
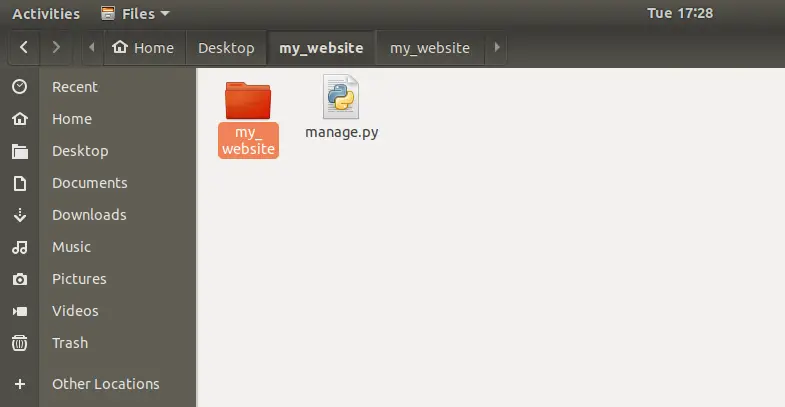
Inside that folder you can see some Python files.
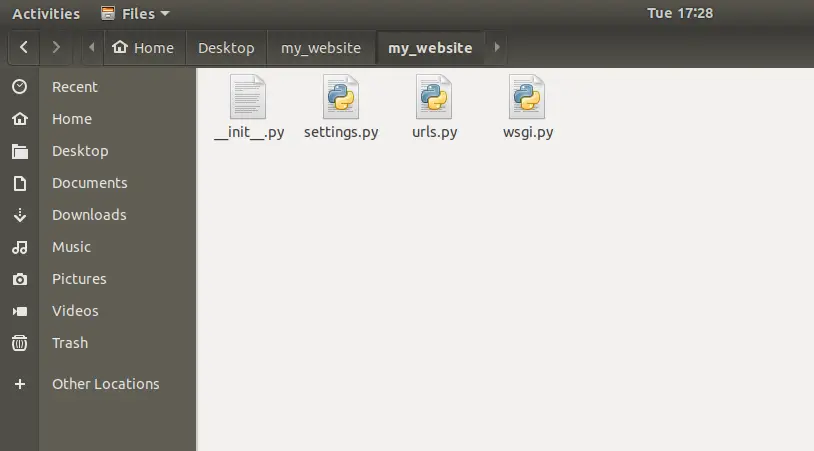
Now we have our project. Let’s see that how we can run this little website.
To do that let’s move back to the terminal and again navigate to Desktop if you are not already there. Now get into the directory of our project by typing following command:
cd project_name
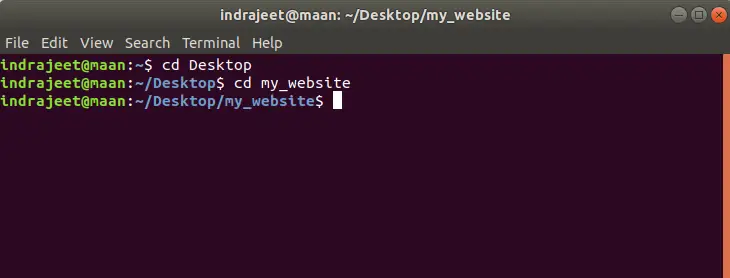
We’re inside our project, now type ls command to see the files in our project.
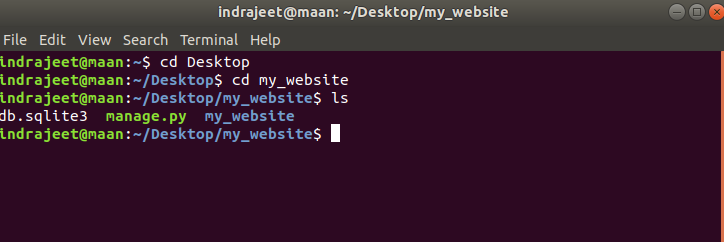
Here you can see that there is a file named as manage.py, which let’s us start our website and it will grab all the files from the directory my_website that is inside our project folder (you can see in above picture).
How to Run Django Project
To run and test our project type the command below:
python3 manage.py runserver
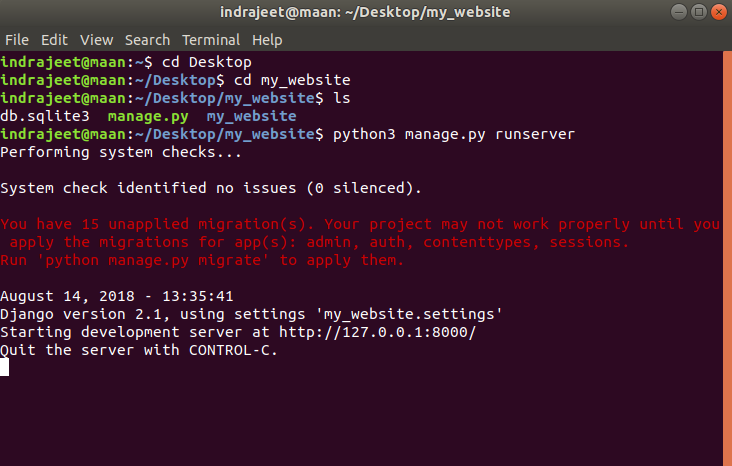
If you have only Python 3 installed in your system then you can use python instead of python3 in above command.
This command will start a little web-server on our computer (hosting our django project). See the output in above picture, there is a line saying “Starting development server at https://ift.tt/2pPGkoc;. So now copy this url http://127.0.0.1:8000/ and open it in any internet browser.
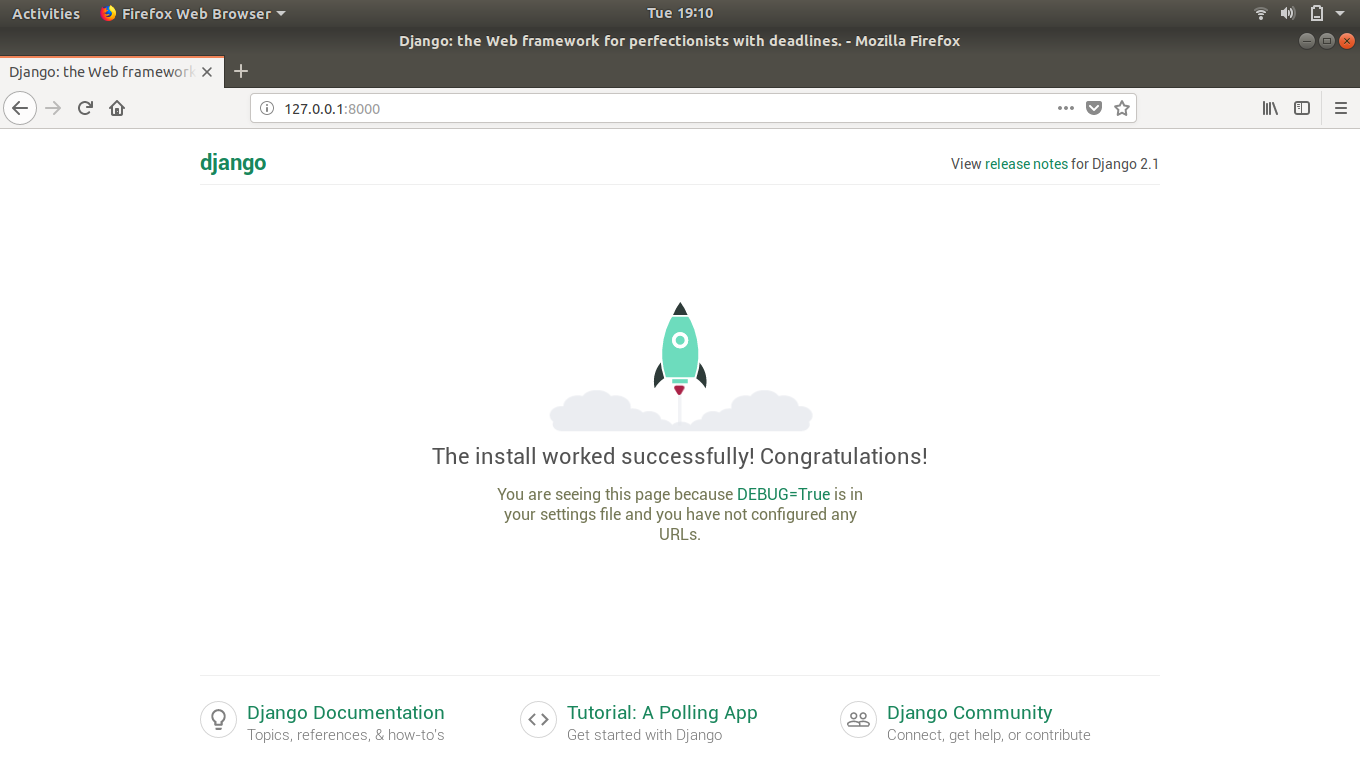
If all steps goes right then you’ll get the screen like above picture. If yes then Congratulation your website is up and running here in your local computer.
Now in the link we have http://127.0.0.1:8000/, here 127.0.0.1 is localhost, that means your own computer and 8000 is port where our web-server is running.
To stop web-server just press ctrl+c (Control c) in terminal.
That’s all for this tutorial. If you’re facing any problem in any steps mentioned above then please let us know in comments.
The post Creating First Django Project appeared first on The Crazy Programmer.
No comments:
Post a Comment